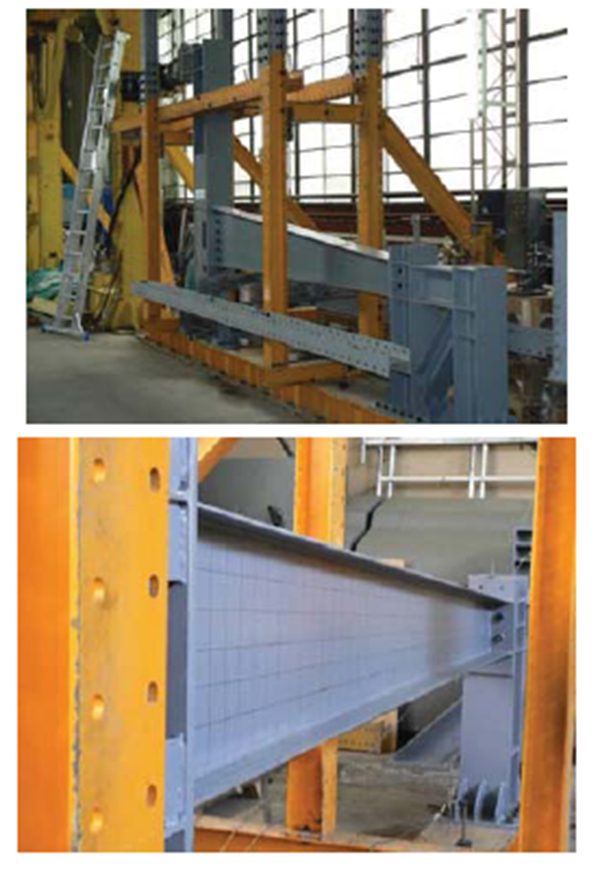
Fig. (6)
Testing setup and specimen position [5].