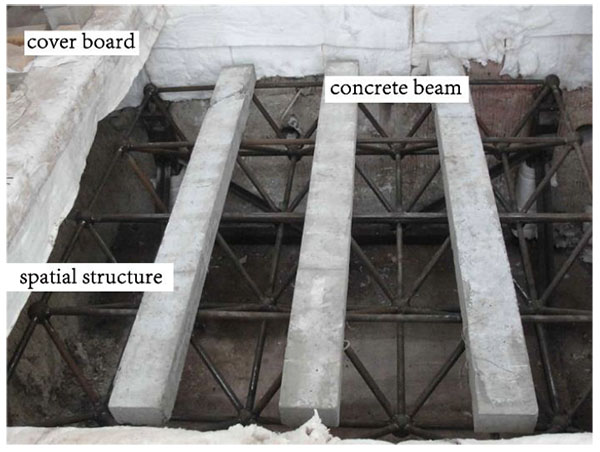
Fig. (3)
Placement of structure and loads.